


Changing the band on an Apple Watch is a simple yet transformative way to customize its look and feel. Whether you want to switch to a sport band for workouts or a leather strap for a more formal occasion, the process is quick and easy. With a variety of options available, users can express their personal style while enjoying the functionality of their device.
This guide will walk through the steps to change the band on an Apple Watch, ensuring a seamless transition from one style to another. No special tools are required, making it accessible for anyone looking to refresh their watch’s appearance. Let’s dive into the straightforward process that keeps your Apple Watch looking fresh and uniquely yours.
Understanding Apple Watch Bands
Apple Watch bands come in various styles and materials, allowing users to personalize their devices easily. Knowing the different types and compatibility options helps users choose the right band for their needs.
Types of Apple Watch Bands
- Sport Bands: Made from durable fluoroelastomer, these bands are perfect for workouts and outdoor activities. They offer flexibility and comfort while allowing breathability.
- Leather Bands: Crafted from high-quality leather, these bands provide a sophisticated look. They are ideal for formal occasions or daily wear, adding a touch of elegance to any outfit.
- Metal Bands: Constructed from stainless steel or aluminum, these bands offer a sleek, polished appearance. They are perfect for a refined look and often come in various finishes, including silver and space gray.
- Woven Nylon Bands: These lightweight, soft bands feature a unique texture, making them comfortable for everyday wear. They come in a variety of colors and patterns, allowing for easy customization.
- Link Bracelets: These bands consist of metal links that can be adjusted for size. They offer a classic style and are suitable for both formal and casual settings.
- Sport Loop: Made from a breathable nylon weave, this band features a hook-and-loop fastener for easy adjustment. It’s perfect for an active lifestyle due to its comfort and lightweight design.
Compatibility with Different Models
Apple Watch bands are designed to fit specific watch case sizes. Users should consider the following compatibility:
- 38mm & 40mm Case Sizes: Bands designed for these sizes will fit all Apple Watch models from Series 1 to Series 6, as well as the SE.
- 42mm & 44mm Case Sizes: Bands for these sizes are compatible with Series 1 to Series 6 models and the SE.
- 45mm Case Sizes: Newer bands fit the latest Apple Watch Series 7 and Series 8.
Users need to check the case size before purchasing to ensure a proper fit. All bands designed for Apple Watch are interchangeable, allowing users to mix and match styles easily.
Tools Needed for Changing Bands
Changing bands on an Apple Watch requires minimal tools, making the process straightforward. Users can easily switch bands without needing specialized equipment.
Recommended Tools
- Apple Watch: The device should be compatible with the chosen band size.
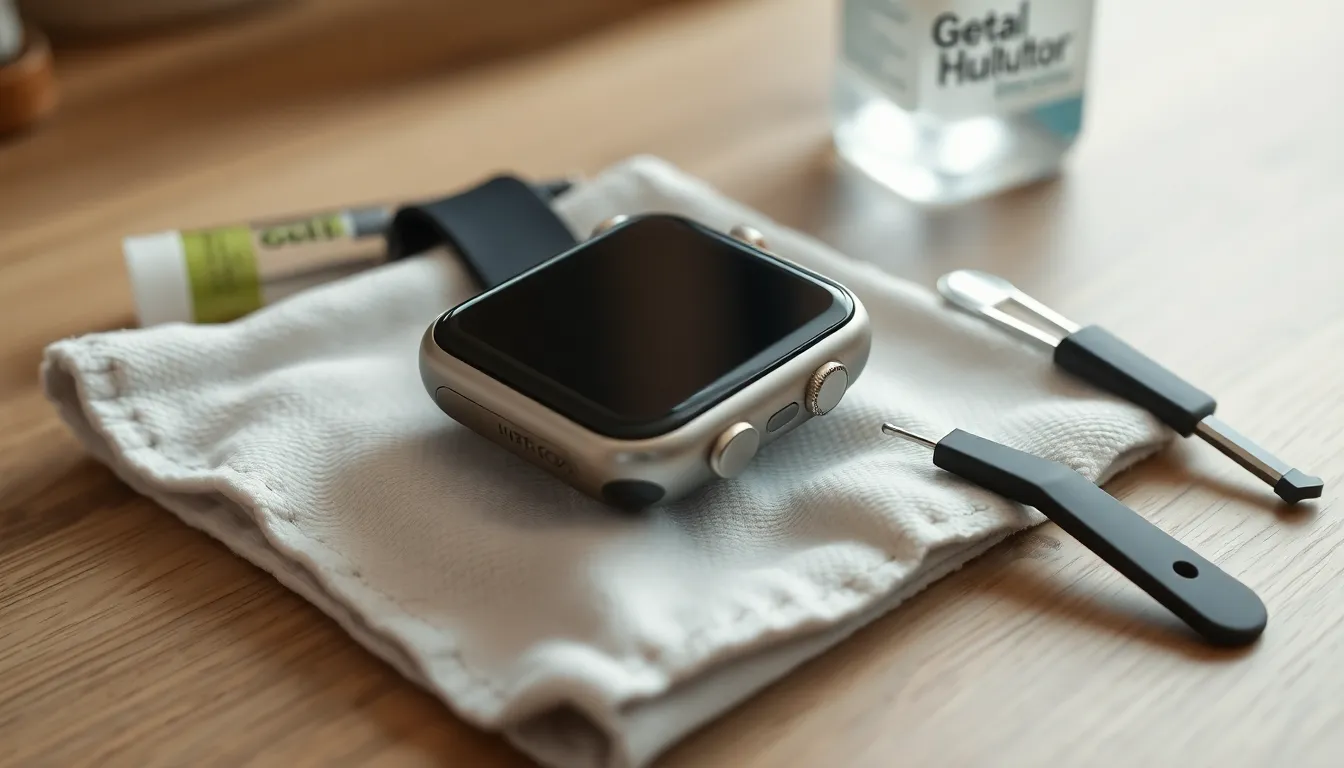
- Band Removal Tool: While not necessary, a band removal tool simplifies the process for users new to changing bands.
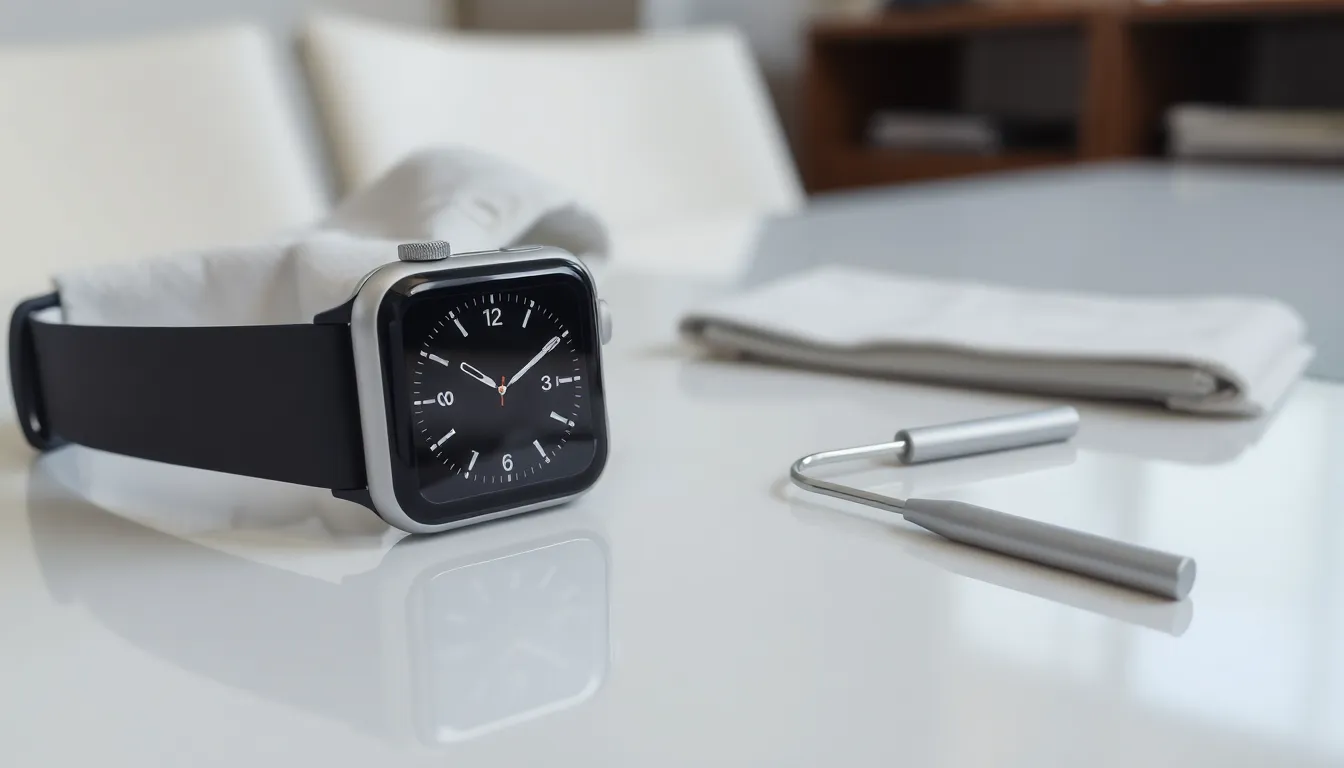
- Soft Cloth: A soft cloth protects the watch and its surface during band changes.
- Cleaning Solution: A gentle cleaning solution helps maintain the watch’s cleanliness and shine while changing bands.
Safety Precautions
- Power Off the Apple Watch: Turning off the watch prevents accidental interaction during the band change.
- Avoid Excessive Force: Users must handle the band and watch gently to prevent damage.
- Keep Workspace Clear: A clutter-free area reduces the risk of dropping or misplacing components.
- Stay Aware of Small Parts: Users should manage small band components carefully to avoid losing them during the process.
Step-by-Step Guide on How to Change Band on Apple Watch
Changing the band on an Apple Watch is a straightforward process. Follow these detailed steps to switch bands effectively.
Removing the Current Band
- Power off the Apple Watch. Press and hold the side button, then swipe to power off. This prevents accidental interactions during the process.
- Locate the band release buttons. These are found on the back of the watch case, where the band connects.
- Press and hold each band release button. One for each band side, and slide the band across to release it. Ensure the button is held down throughout this step.
- Remove both sides of the band. After sliding out one side, repeat for the other to fully detach the band.
Attaching the New Band
- Align the new band with the watch case. Ensure it matches the slot where the previous band was removed.
- Slide the band into the slot. Insert one end into the slot until it clicks securely in place.
- Repeat for the other side. Ensure both ends of the new band are locked firmly within the watch case.
- Check for proper attachment. Gently tug on the band to ensure it’s securely attached before wearing the watch again.
Troubleshooting Common Issues
Users may encounter specific problems while changing the band on an Apple Watch. Here are solutions to common issues that arise during the process.
Difficulty Removing the Band
Some users may find it challenging to remove the band. To resolve this, ensure the Apple Watch is powered off. Position the watch face down on a soft surface, then press and hold the band release button completely. If the band doesn’t slide out, check for any obstructions in the slot. If resistance persists, gently wiggle the band while holding the release button. This motion may help disengage the band without damaging the watch.
Ensuring a Secure Fit
Ensuring a secure fit is crucial for comfort and functionality. After attaching a new band, users should visually confirm that it clicks into place. To test the security, gently tug on the band to check for any looseness. If it feels unstable, detach the band and reattach it, ensuring it aligns properly with the grooves on the watch. A snug fit prevents accidental detachment during everyday use, enhancing wearability and performance.

